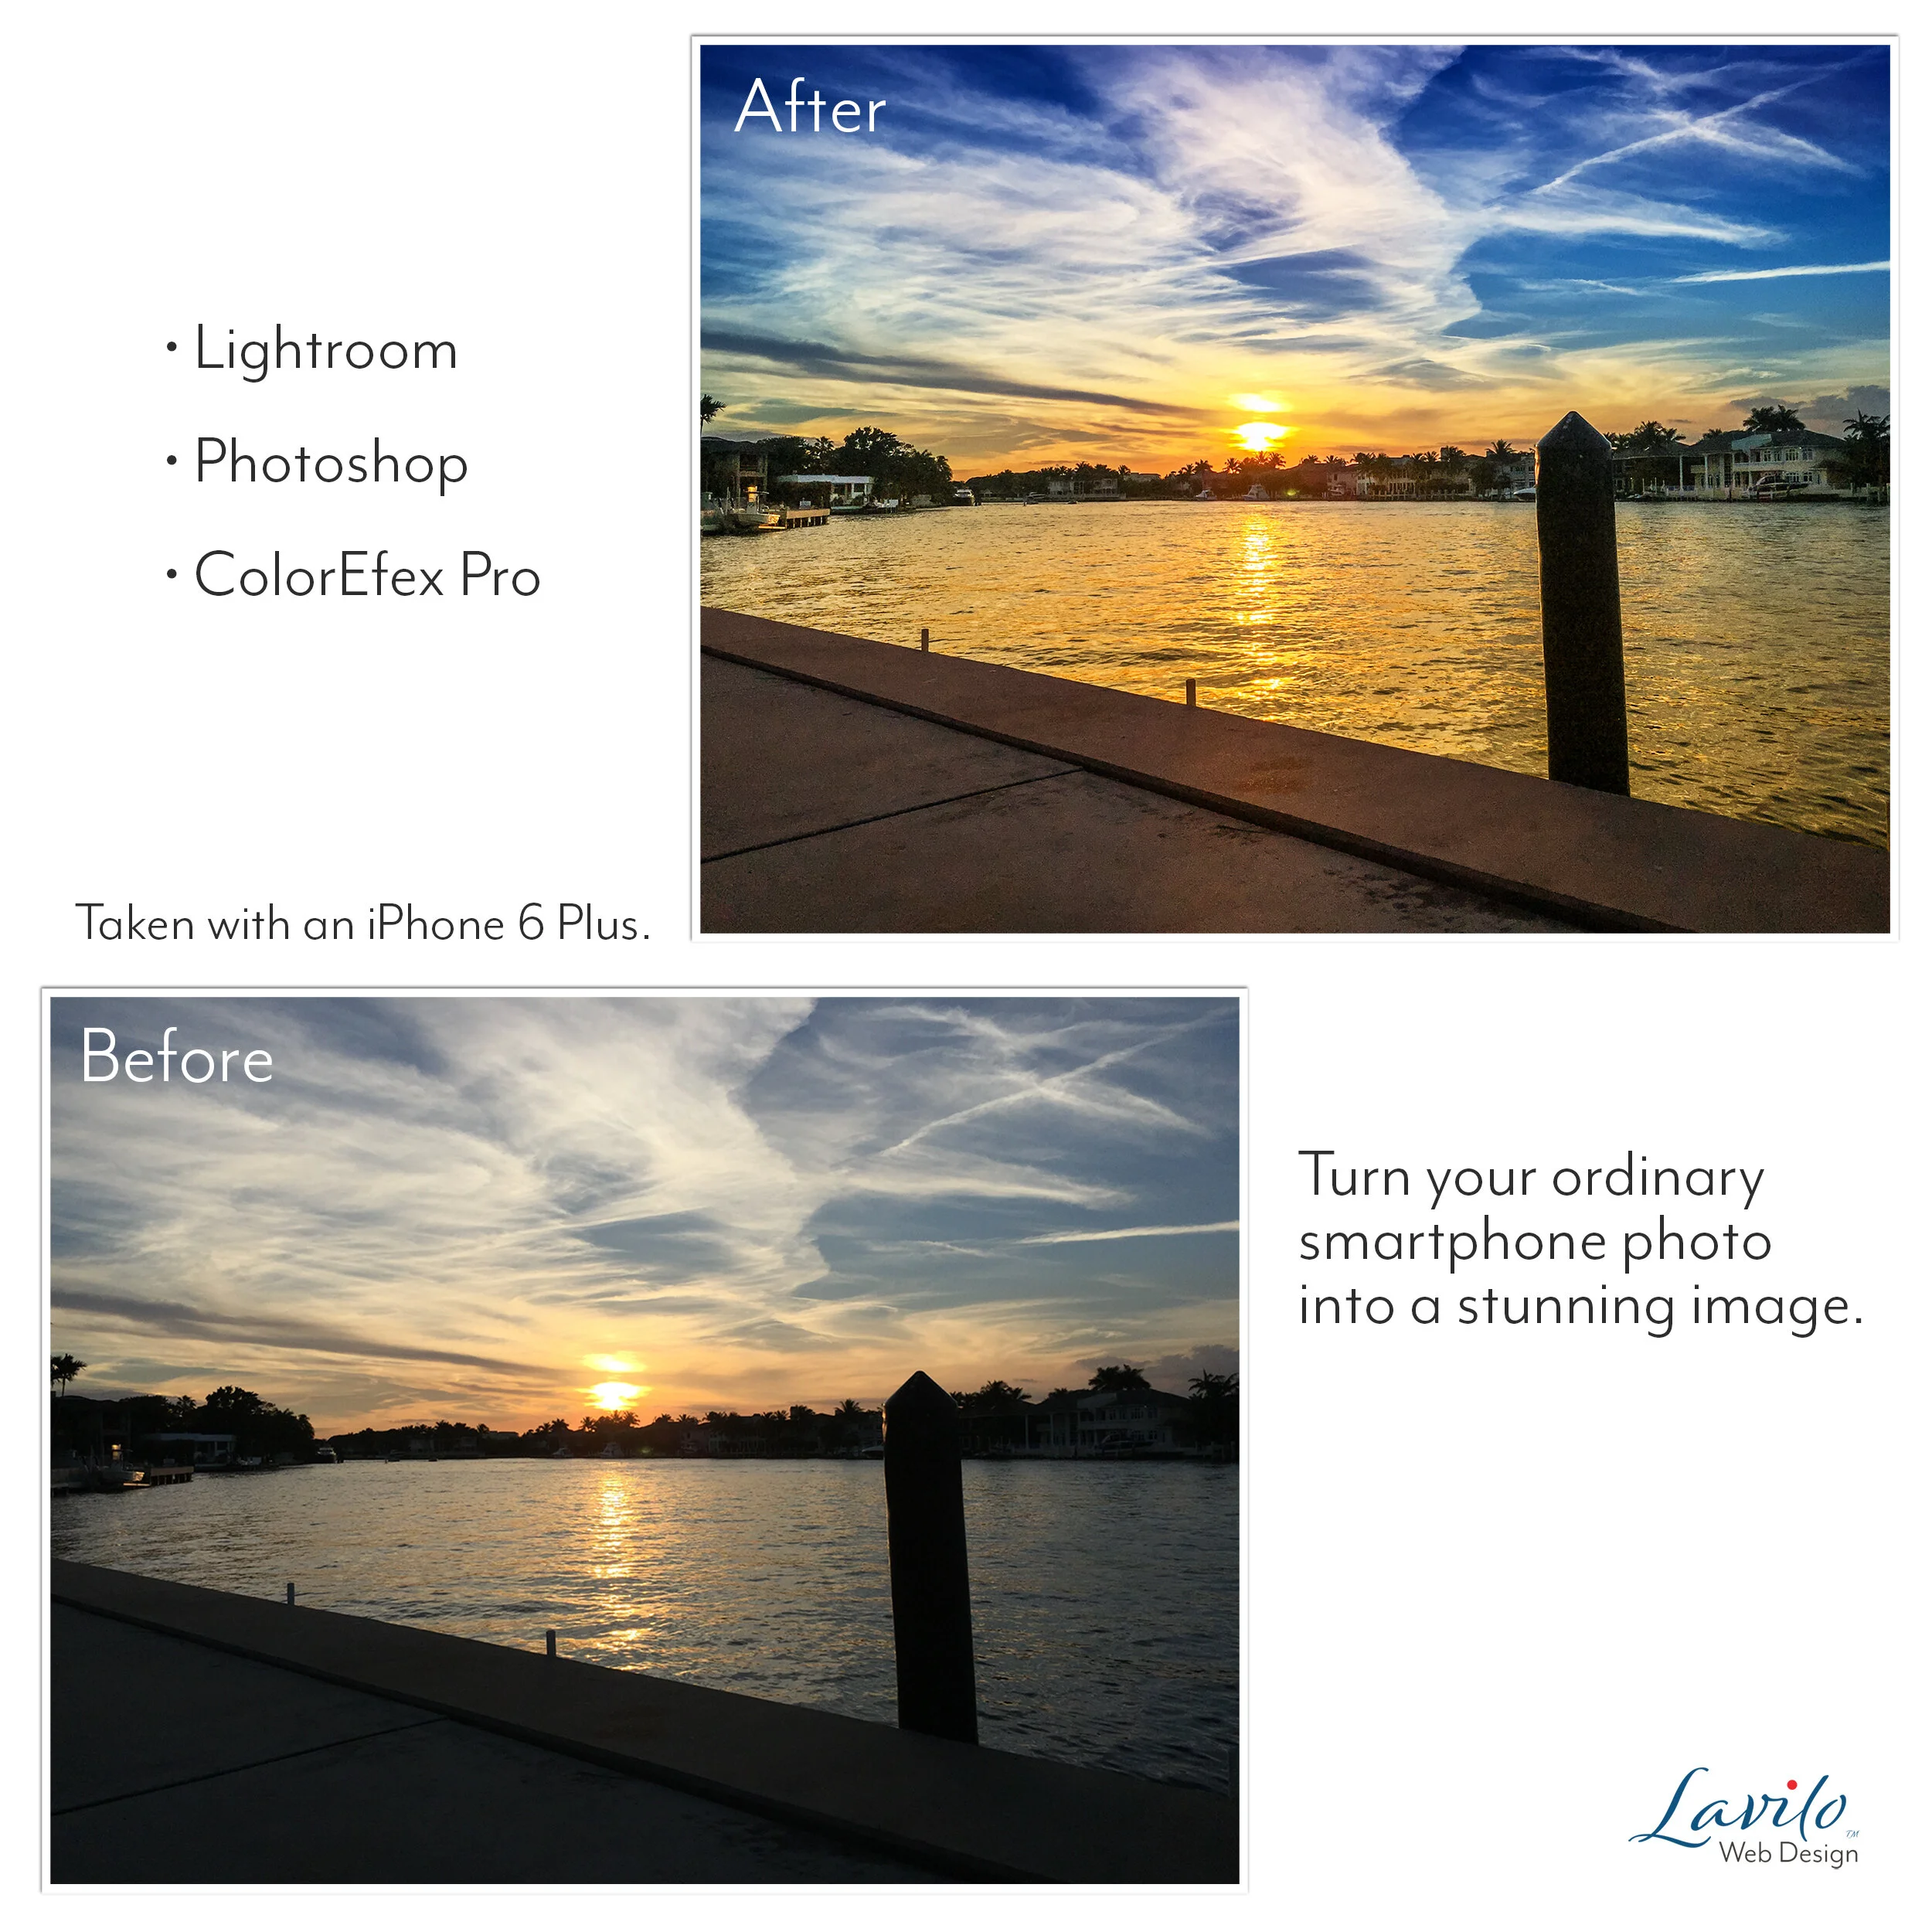
What is Dodge and Burn?
When you learn about the retouching of photos, you will come across the terms "dodge" and "burn" at some point. But what do they mean?
This fundamental retouching technique of dodging and burning can probably be traced back to two simple insights that famous painters masterfully applied already centuries ago:
Our eyes seem to be drawn to the brightest area of an image.
In general, we find partially-lit pictures more appealing than those that are fully-lit.
Back in the film days, when you wanted to brighten highlights and darken shadows to add contrast to your image, you had to do this in a dark room by adjusting how long your photo paper was exposed to light. Reducing the amount of light that hit a particular area of the photo paper made that section lighter. This technique was called dodging. The result may sound a bit counterintuitive to those who did not experience the film days. However, since the dodging method was used with a process called negative-to-positive, dark areas in the negative became bright areas in the final photo (positive).
The burning technique worked in the opposite way. After first exposing the image correctly, particular sections of the image received an additional dose of light, making them darker, thus burning them.
Fortunately, in our digital camera age, we do not need to handle little paper cards in a dark room any longer. Instead, we can use Adobe Lightroom and Adobe Photoshop to achieve the same effects.
In Lightroom, you can use the local adjustment brush to mark a particular area in an image to which your exposure settings are applied. If you increase your exposure, you make that part inside your mask lighter, reducing it makes it darker.
If you need more control over where exactly you apply the dodge and burn effects in your image, you have to open your picture in Photoshop. Once there, you can use one or a combination of the following three methods:
Create a curve adjustment layer and either pull the curve up to lighten the image or down to darken it. Select the layer mask and invert it. Your mask is now black, hiding the effects of your adjustments. With the foreground color set to white, brush all areas in the image to which you want to apply the changes. This method is quick and, to some extent, reflects the approach in Lightroom.
Use the dodge and burn tool in Photoshop. As this is a destructive method, you should copy your original image first. On your copy, you can use the dodge tool to brighten shadows, mid-tones, or highlights. The burn tool follows the same principles but works in the opposite way, darkening the specified areas, instead of lightening them. Unfortunately, there is a downside to both tools. Sometimes, they make some unwanted color changes. That leads us to the third method.
Create a luminosity mask on a new layer. While this technique is perhaps a little more advanced, it also yields the most pleasing results. This method is also non-destructive, meaning that it does not alter your original image, and you can always delete any changes.
Create a new layer with a white layer mask.
Select the layer mask and go to IMAGE>APPLY IMAGE to create the luminosity mask. For burning, you need to invert the mask.
Use the levels-tool (IMAGE>ADJUSTMENTS>LEVELS) to increase the contrast of the luminosity mask.
Select the layer (not the mask) and choose either white as your foreground color to brighten your image (dodging) or black to darken it (burning). Now all you have to do is to brush-in the desired effect at a flow of about 10%.
All professional photos have been retouched using some form of dodge and burn to give them depth and make them more appealing to the viewer. Whether you edit your pictures with Lightroom or Photoshop, you can learn from the pros and try one of these dodge-and-burn techniques the next time you retouch an image.


