How to Reduce Unwanted Glare in Your Product Photos

Pottery made by Mike Wagner Keramik.
To take a photo, you need two basic things: a camera capturing the scene and light illuminating it.
As product photos are shot in a studio, we use artificial light to make your artwork stand out. We want to shape this light to create shadows and highlights and play with its intensity and color to evoke emotions. Unfortunately, when you work with light, at some point, you will encounter harsh, bright reflections in places where you do not like them. This is glare.
You won't be able to avoid glare as hard as you try. I have learned to live with these reflections and use the following techniques to reduce them.
Use a polarization filter: Such a filter is screwed on to your lens and can work miracles. By turning the outer ring of the filter, you can watch how some surface reflections begin to disappear.
Use a diffuser: They spread the light from your flash across a larger surface area and make it softer. Thus the name "softbox". The glare does not entirely disappear, but it looks smoother.
Use software: If glare occurs as spots, the stamp tool in Photoshop or the clone tool in Lightroom can help you to replace the affected areas.
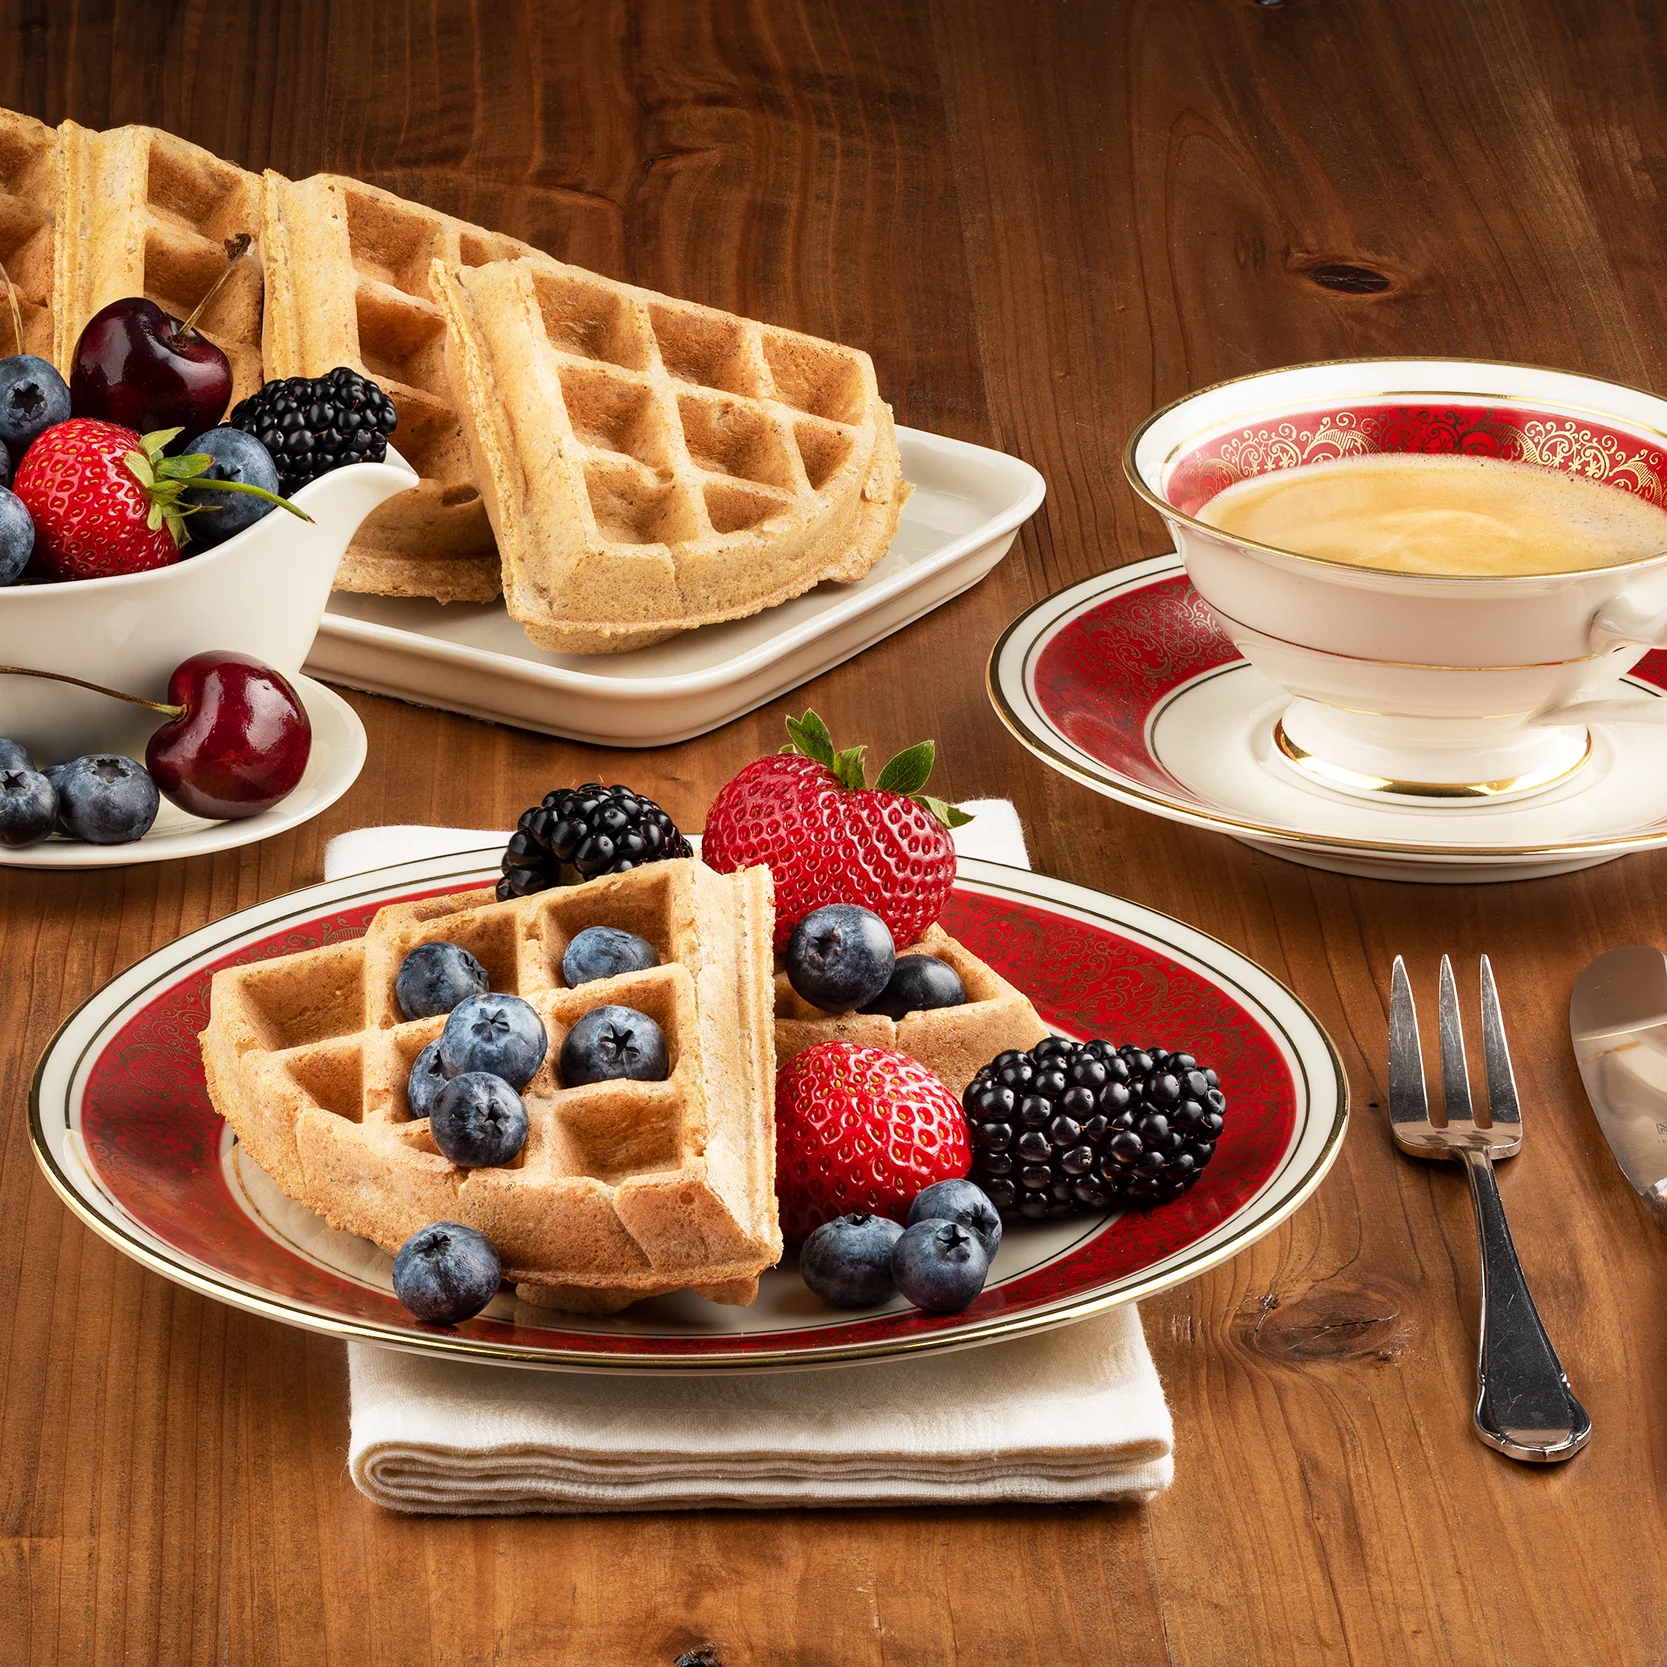
Make a composite: The best and the most time-consuming approach is to take multiple pictures with light coming from different angles. Then you combine the glare-free sections of each image in Photoshop into one final picture, called a composite. They are stunning. Judge yourself: the picture above is a composite.
I often use a combination of these techniques, depending on the shape of the object and its reflectiveness.