7 Tips to Take Photos Like a Pro

Glass bowls and sinks by artist Mark Selleck.
Contrary to common belief, your camera is only one of many factors that affect the quality of your photo. Of course, a good camera and high-end lenses help with the quality of your image. However, your gear only explains part of the outcome. Here are my seven tips that will help you with improving your photography.
Don't leave your photography to chance. When I discovered my passion for photography with the advent of digital cameras, I loved to look at pictures in high-end magazines and analyze them. These images were stunning. However, when you look behind the scenes, you quickly realize and come to appreciate how much meticulous preparation and patience go into these photos. Long before they set up their camera, professional photographers explore the location in order to choose the best spot from where to take the picture. They find out where the sun will rise, which parts of the composition will be filled with sunlight and which will be cast in shadow. Predominantly nature photographers can spend hours or even days on location, waiting for the light to hit the scene exactly right. And when this moment comes, they release the shutter. A key lesson in photography is to control your variables. The fewer dependencies you have, the more consistent your image quality will be. It may not be intuitive at first, but a stunning photo is in many ways the result of a deliberate process that combines patience with meticulousness, a process in which the photographer leaves as little as possible to chance.
Have a vision for your photo. Ken Blanchard famously wrote, "Knowing where you are going is the first step to getting there." Successful photographers have a strong vision of what the final image will look like before they pull out their camera and shoot. All preparatory steps align with this outcome. For them, the light, the location, and the equipment are enablers to realize the photo they have in mind.
Imagine your composition. Professional pictures often pique our interest. They lead our eyes through the scene, first wandering then exploring until they focus on the main subject. Here are some tips to achieve this effect:
Work with leading lines, e.g., a road, a fence, or anything that creates a subtle regular pattern towards your main subject.
Declutter your composition. Remove all items that do not contribute meaningfully to the central message of your image.
Move parts of your picture out-of-focus. A shallow depth of field blurs certain parts of the image, drawing the viewer's eyes to the sharp areas.
Know your light. Without light, your photo is black. To see anything in your photo, you need to add a light source. However, light rarely is the same. It can be harsh or soft, leaving dark or light shadows. Light can also be warm, like at sunset, or cool, like on a cloudy day. Depending on your vision for the photo, you as the photographer decide when and where you want to take it. Do you want to shoot early in the morning or late in the day? Do you prefer harsh or soft shadows? Do you shoot indoors or outdoors? Sometimes, the event determines the time and day, and you have to work within these limits. Even then, there are many other choices you can make.
The most expensive gear may not be the best option for you. Photographers love to talk about their equipment. So, of course, you get the impression that buying the best and most expensive gear is all you need. In reality, however, the opposite is more accurate.
Your client rarely cares what photo-equipment you use as long as it is of professional quality. That eliminates smartphones and most consumer cameras.
Your photo gear is a tool to get the job done. It has to be sturdy and robust enough to take an occasional beating, but foremost, it has to be reliable. Nothing is worse, more stressful, and more embarrassing than your camera failing you during a shoot.
Your photo equipment must feel right for you. If the dials and buttons are too tiny for you or the markings and numbers too small to read without glasses, or if the camera and lens are too heavy, then you may want to consider a different camera.
Use a sturdy tripod whenever you can. Most, if not all, professional photographers place their camera on a tripod to eliminate the faintest shake and achieve tack-sharp images.
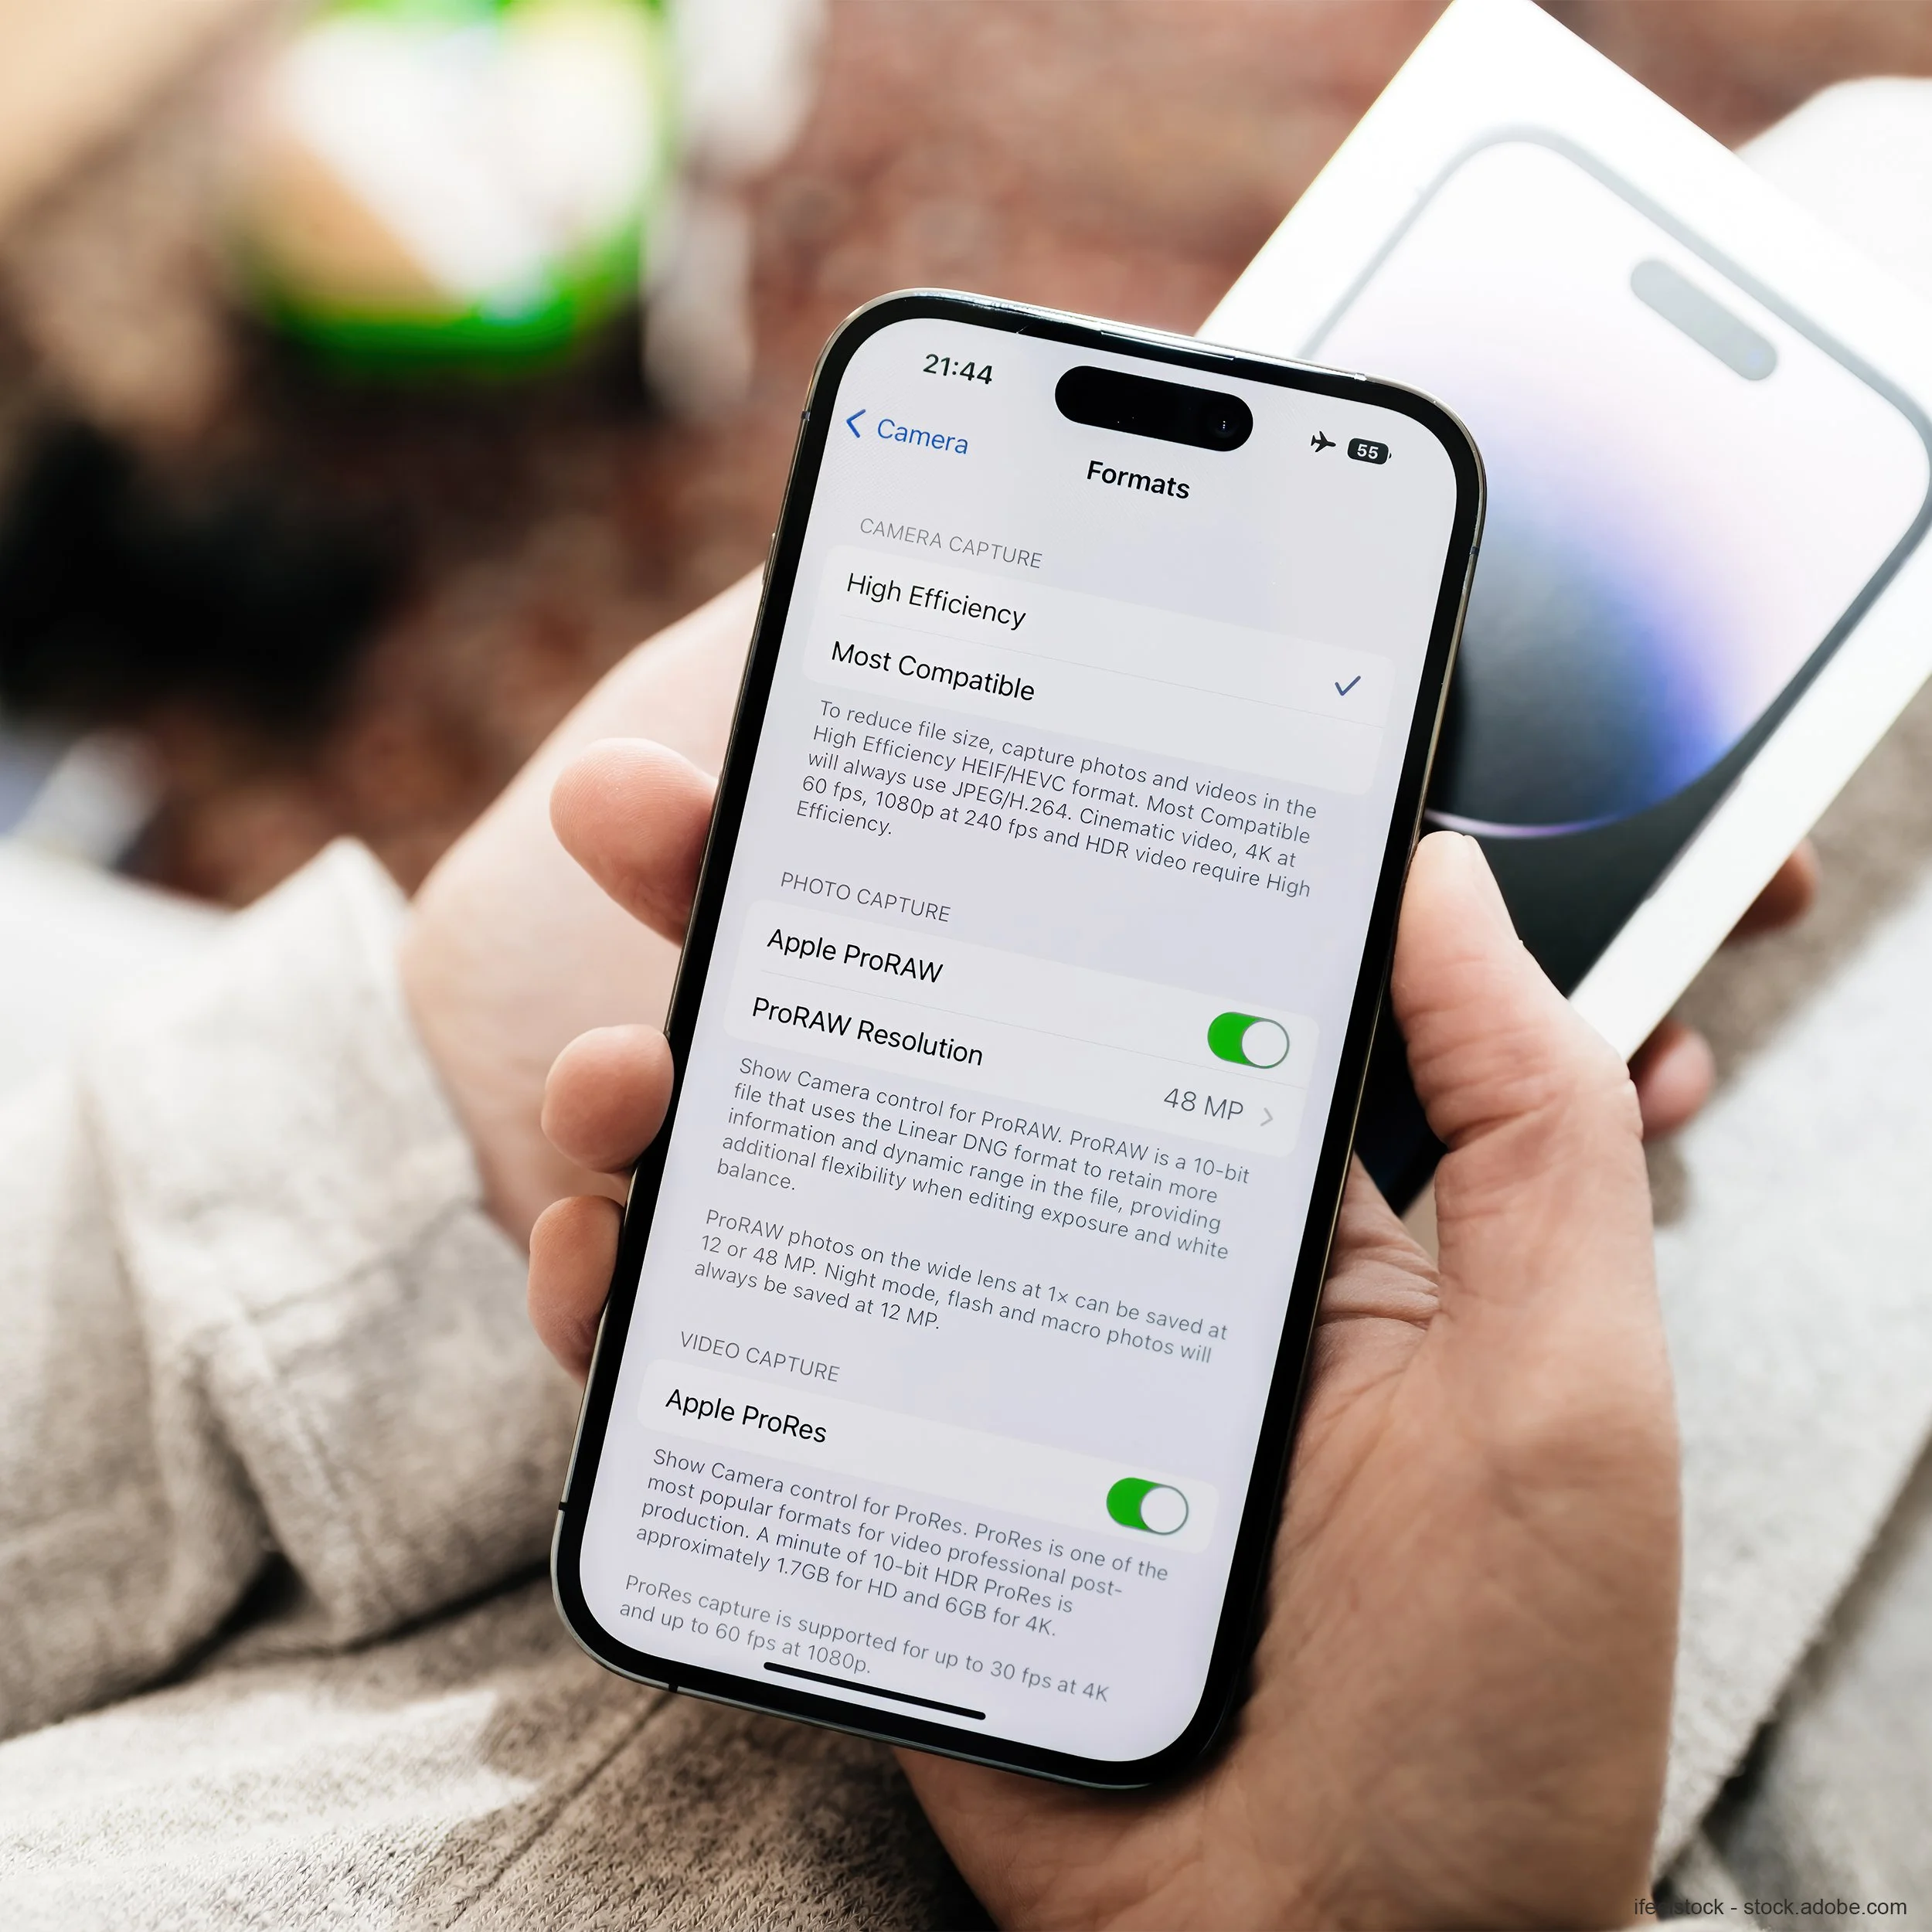
Shoot in RAW. Professional cameras offer you the option to take your photos in RAW instead of JPEG. The significant difference between these two formats comes down to the post-processing of the image. Pictures captured in RAW are unprocessed. They look like your camera sensor sees them. Instead, JPEG images were processed or enhanced by software algorithms in your camera. Although JPEG photos look more vivid and finished straight out of your camera than pictures in the RAW format, most professional photographers want to do the image enhancement in post-production themselves and therefore shoot in RAW.
If your camera has two memory card slots, you can set the first card to store your RAW files and the second to save a JPEG copy.
Do your image retouching yourself. When you think the photo-shoot is over, the real work begins. After importing the RAW images from your memory card into your computer, you have to select from all of the captured pictures those photos that may look stunning after you have retouched them. If you are unsure which image-retouching software to use, here are some thoughts:
If you are serious about photography and have invested several thousand dollars in your photo equipment, you may want to consider Adobe Lightroom or Photoshop. Both software packages are the gold standard in image editing. Thousands, if not millions, of photographers around the world use Lightroom and Photoshop every day. There are also many YouTube tutorials online explaining how to use the software. Even though the Adobe software is only available as a monthly subscription service, it includes all updates and upgrades during the subscription period keeping the software current at all times.
If you are more of a photo enthusiast and not too interested in a subscription service, there are many options available to you.
Luminar from Skylum is a software package that may be worth considering.
Another is Topaz Studio from Topaz Labs, which has a modular structure. As you improve your retouching skills, you can then buy additional filters that seamlessly plug into the Topaz Studio software.
Photography, like any other profession, requires many skills. Among them are patience, meticulousness, and a clear purpose that motivates you to continue your photographic journey and to expand and improve your skills. Also, if you take more pictures or spend more time retouching them, don't forget to keep having fun with photography.